Loading viewer...
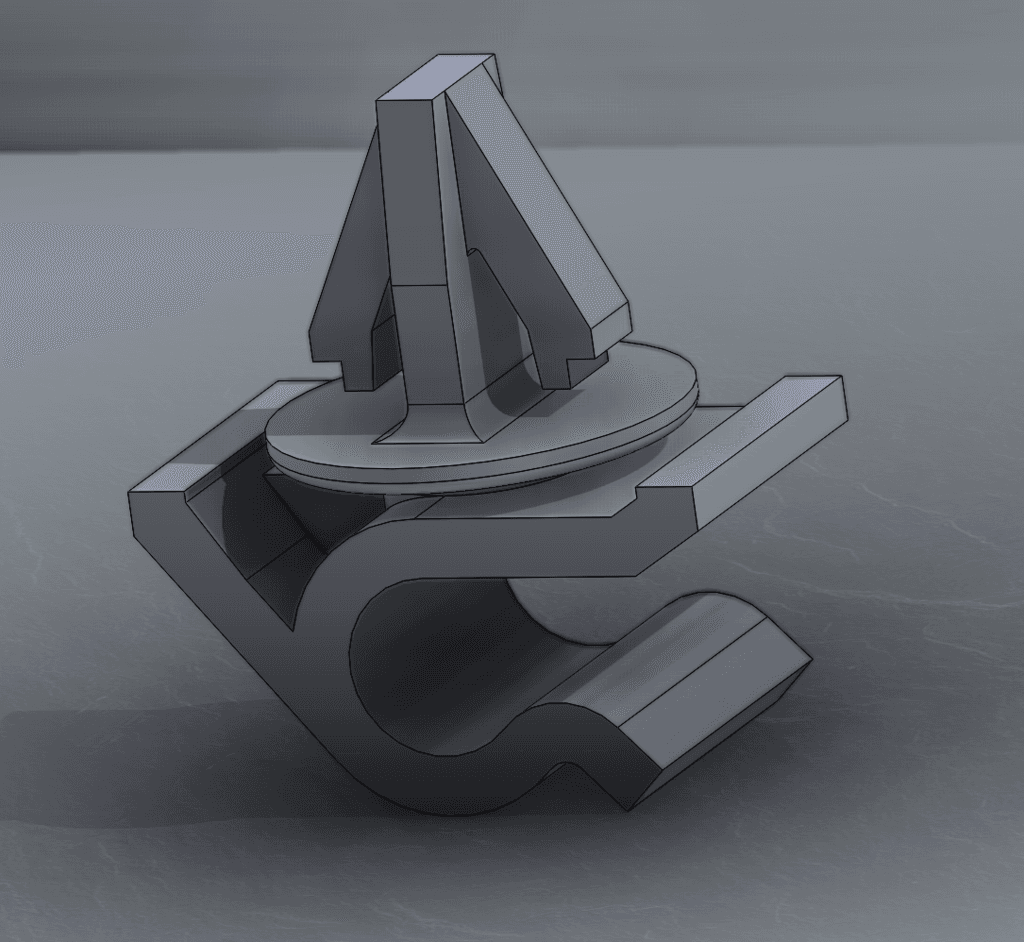
LEGACY CLAW ENERGY CHAIN TESTED
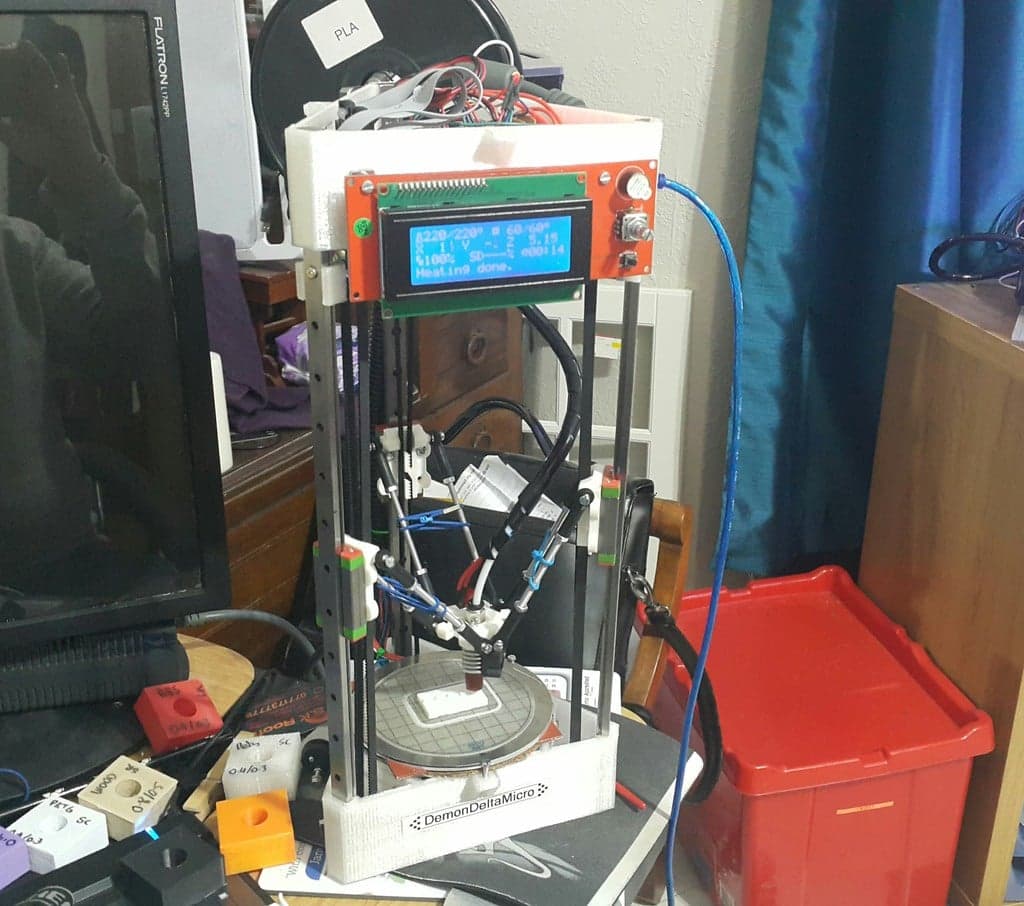
THOROUGHLY RE-FITTED DEFINITIVE ENERGY / CABLE / DRAG CHAIN. Backwards Compatible (MK-III, MK-II & MP CABLE CHAIN). UNIVERSAL MOUNTS INCLUDED FOR MOST APPLICATIONS MONOPRICE SELECT MINI HEATED BED BRACKET INCLUDED SAFELY REROUTE BADLY PLACED HEATED BED WIRES USING THE CLAW +PRINTS AS A 4 PACK. Print and give them a little click to start the chain reaction. +3 PACK & STARTER LINK ALSO INCLUDED +RADIAL STOPS to repeatedly limit movement. +UNIVERSAL MOUNTING BRACKETS INCLUDED -MONOPRICE SELECT MINI MOUNTING BRACKET INCLUDED INCLUDES +Clip together construction prints Easily on monoprice bed. +What dreams are made of. NOTE Very positive engagement. Pay attention to orientation when clippin together. Not Designed to come apart easily. ABOUT MONOPRICE SELECT MINI INSTALLATION INSTALLATION GENERAL +Fitted Monoprice select Mini Bed Mount, Use existing holes as pilot holes for bed mount. +Three holes need to be drilled into the back of the cabinet below the bed. +Open bottom of printer using proper sized philips (star) Screwdriver. +Reposition wires to prevent wire damage during drilling. +Use step drill to prevent sudden drill penetration. +Fit these holes AFTER BED MOUNT and CHAIN configuration. +If you are doing this repair on a new printer and are just adding wire you can appropriate heat shrink tubing without the use of solder and still have satisfactory results. +Glue type tube of 3:1 ratio preferred. Wires sized appropriately similar will not get very hot in use. CHOICE OF REPAIR SOLUTION Install a new heated bed power source and relay or solder equivalent longer wires to the bed or use the existing wires. This is a reasonable route for the wires. Existing wires connector clips should fit through the chain although if you chose to solder in a few more inches of wire it allows for easy cable threading. BED MOUNT +Remove the bed to install the Bed mount. +Drill the four small holes on back of bed with a clearance h