Loading viewer...
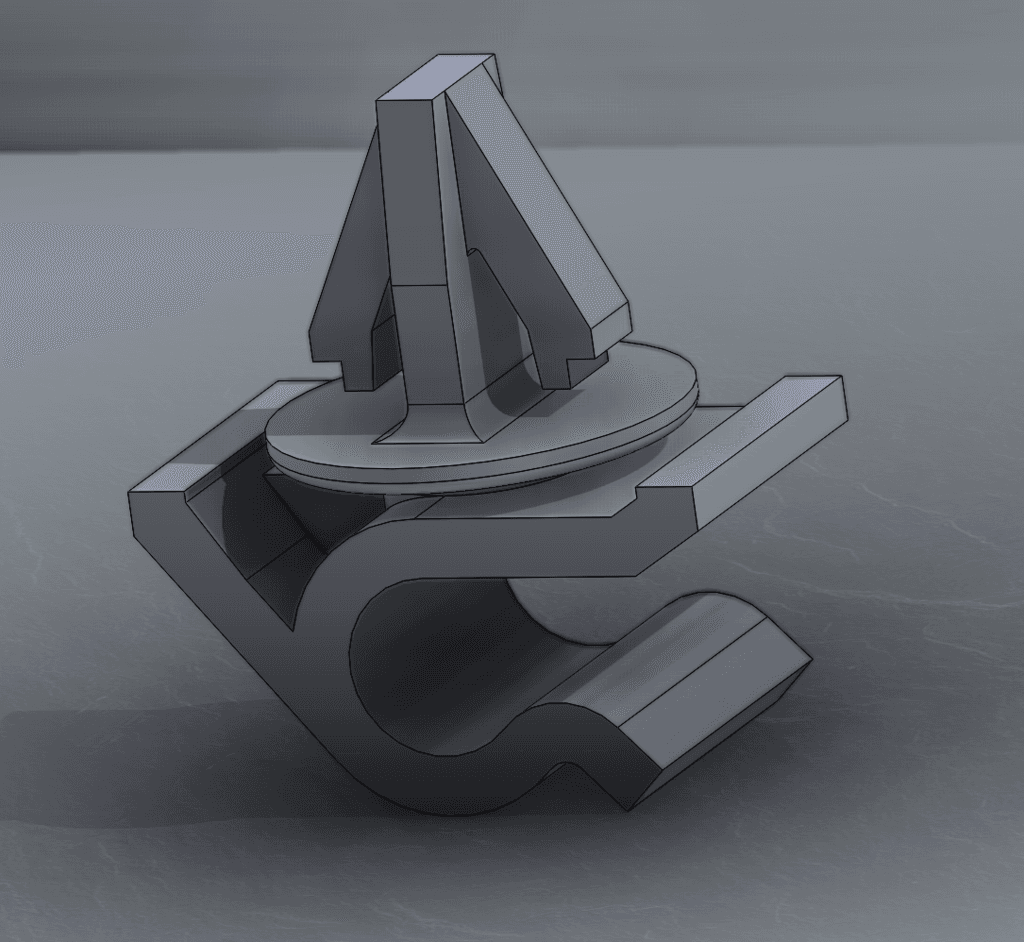
Y AXIS DUAL-RAIL MOD VERSION 2 (no drilling required)
******* PLEASE BE INFORMED THAT THIS MOD WILL ONLY WORK WITH EARLY VERSIONS OF ENDER 3 WHICH UTILIZES PLATE BRACKETS WITH A RHOMBUS V-WHEEL ARRANGEMENT INSTEAD OF SQUARED****** This is my 2nd design for the ender 3's Y-axis dual linear rail conversion . The major difference between this version and the 1st version I did is that it utilizes the existing plate bracket that holds the heat bed and v-wheels. As the title indicates this version doesn't require to drill new holes in your plate bracket. (1st version https://www.thingiverse.com/thing:3299040 ) Is this necessary? no, it is not, sticking with the stock v wheels or doing the single rail will do just fine. the only benefit you'll get from doing this if it is done correctly is that you'll only lose very minimal z height compared to the single rail mod (around 5mm). A guaranteed solid base compared to the stock and your driving force will remain at the center of the bed unlike with the single rail it will be shifted a little bit towards the right side. additional parts 2x 300mm mgn 12h M3x12mm x4 for mounting the printed bracket to the y plate M3x10mm x 10 + t-nuts (for mounting the rails to the y frame, I only used 5 on each side) M3x12mm x4 (for mounting the new y bracket mod to the rail block) M4x16mm x2 + t-nuts (for mounting the y switch bracket on the y aluminum frame) https://www.youtube.com/watch?v=kJIqcmiXYpg